
Psychedelic Nonsense the Tutorial
Here's how I create wild psychedelic art using the OneLab app

Good morning friends and cosmonauts!
Today I'm pulling the curtain aside on my most simple and prolific art technique: Psychedelic Nonsense.
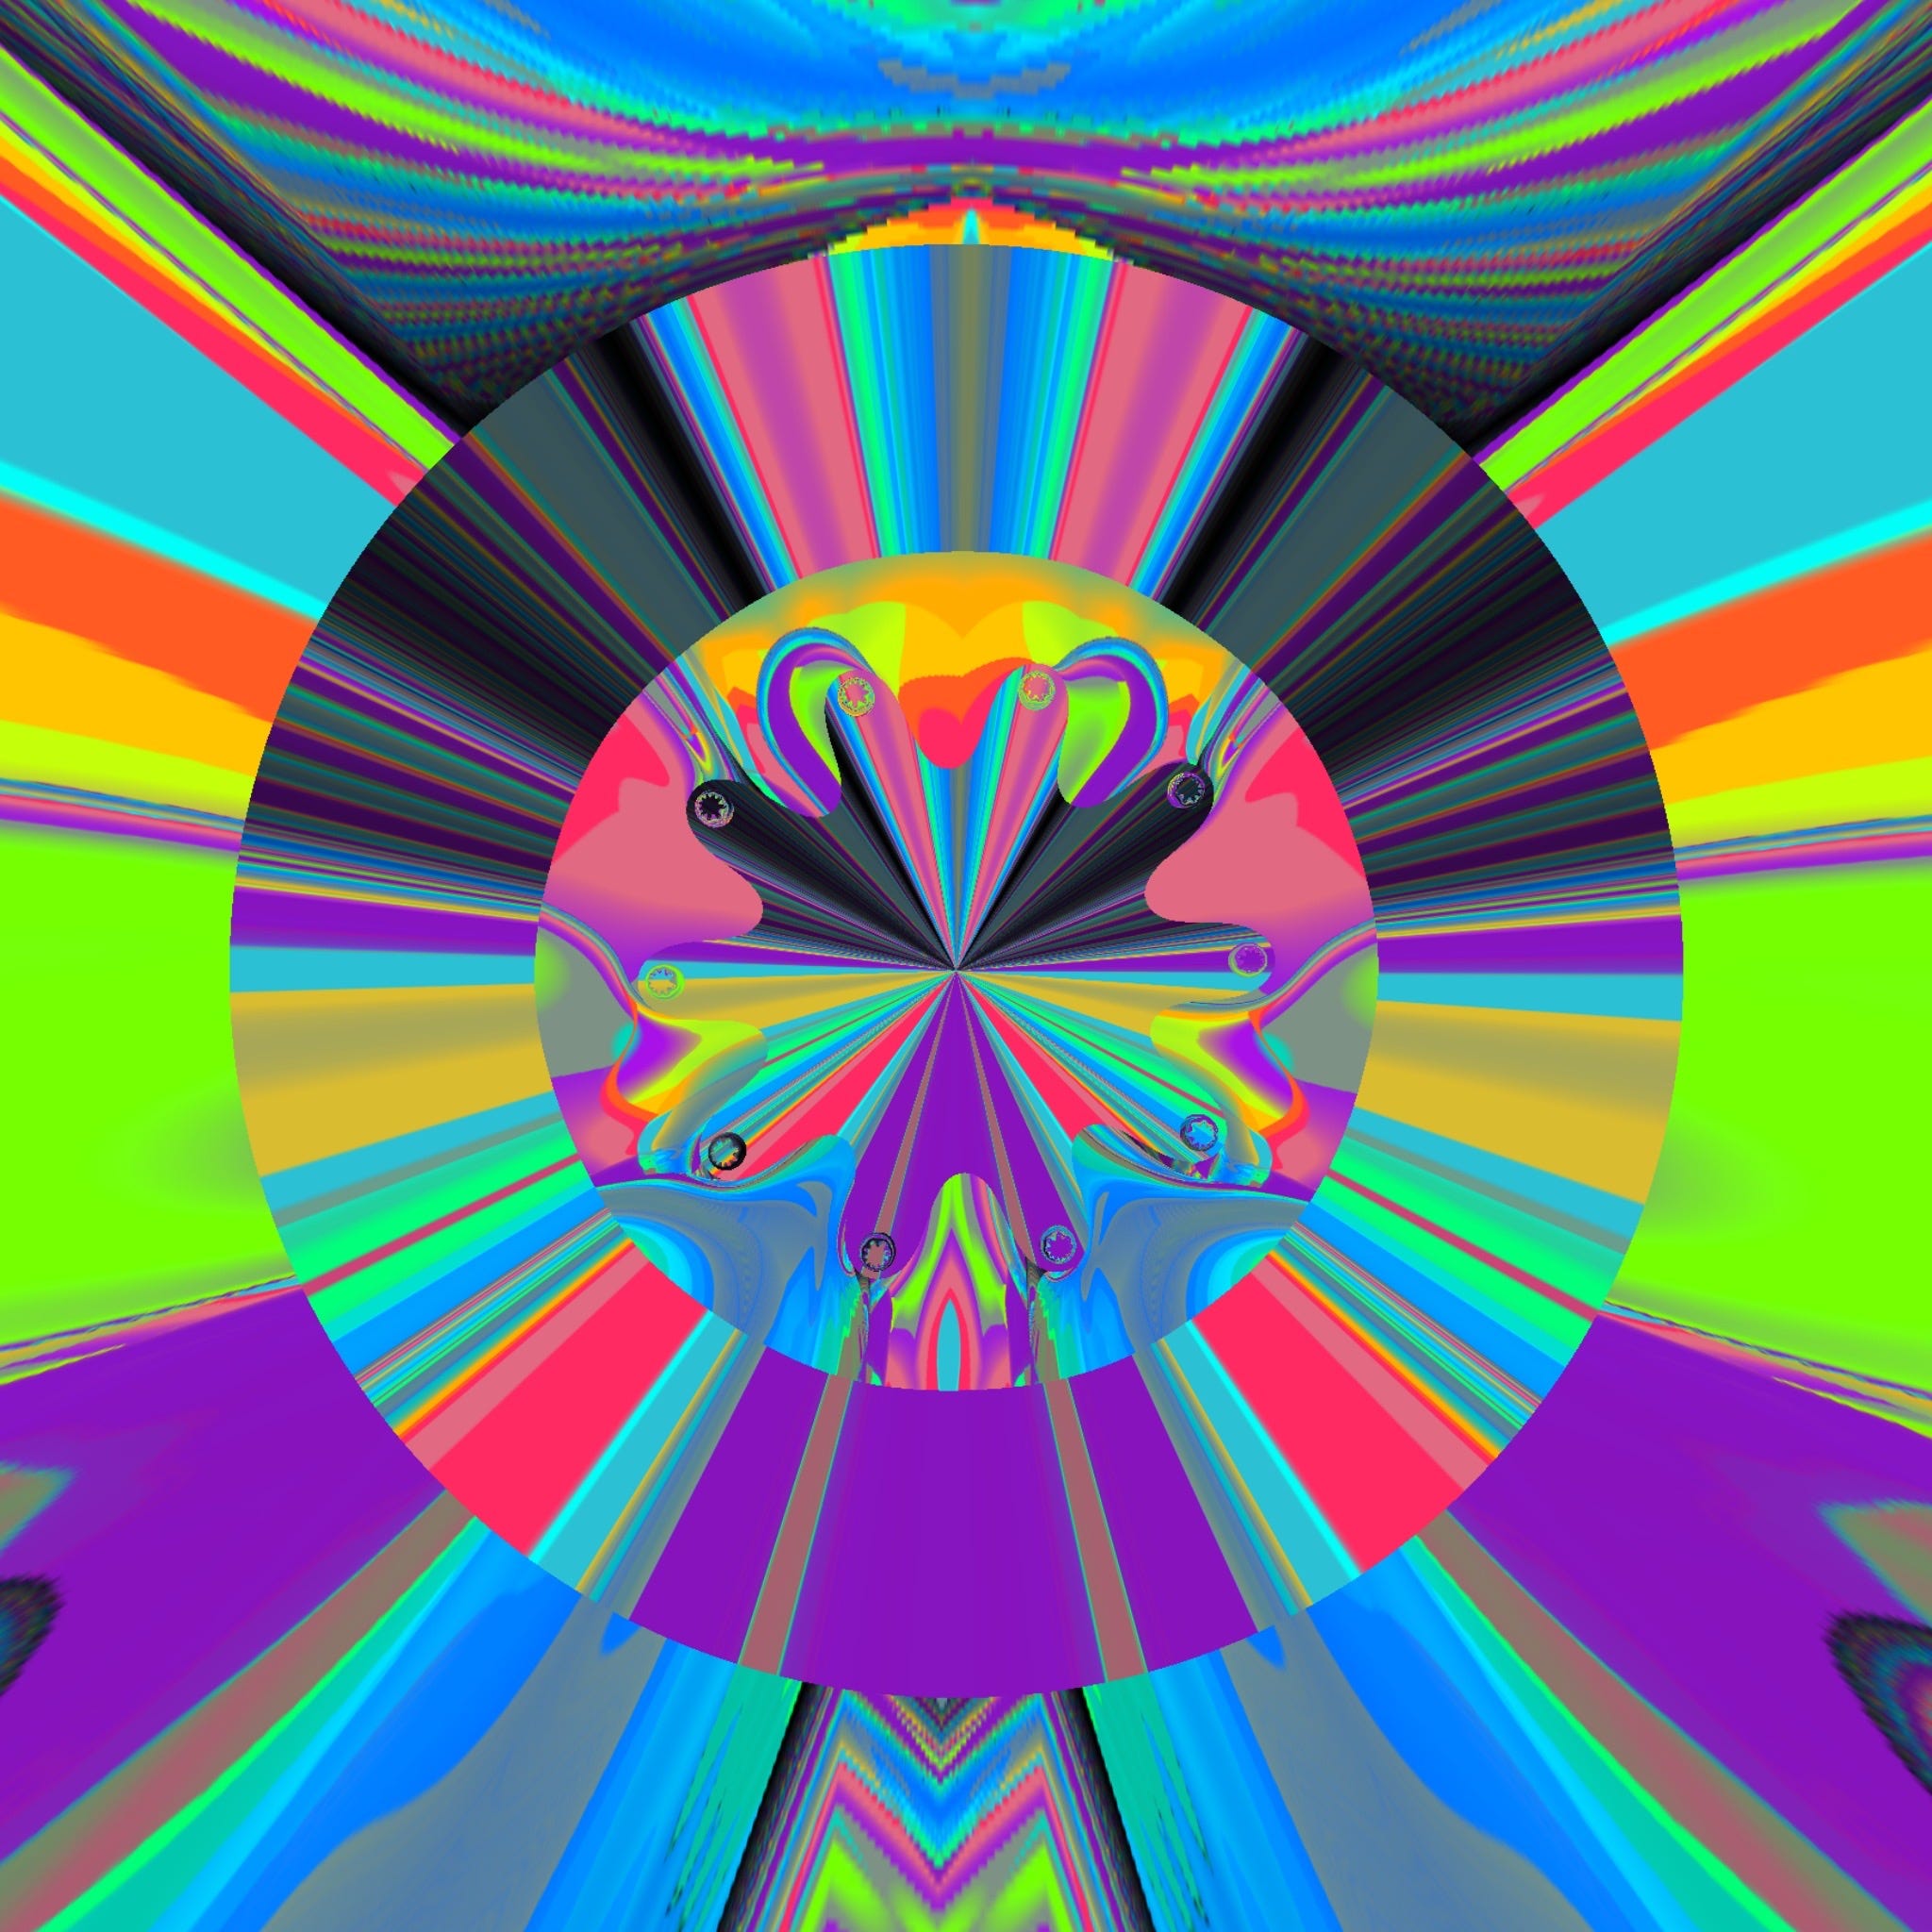
Here's an example of this type of art I've created.
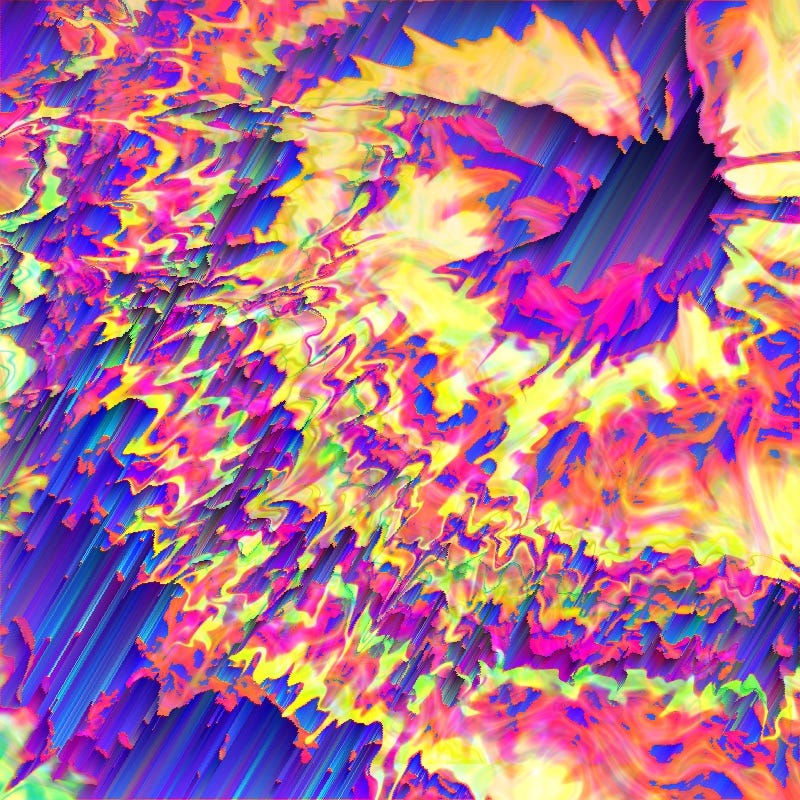
Pretty rad right?
Believe it or not, these designs take me less than 10 minutes to create.
That's right under 600 seconds!
Now this post is probably going to be my longest one yet. I have a lot to say about this topic. To get to the tutorial, skip down past the two bar lines. I'll label it clearly.
The divider will look like that ⬆️
Also if you want to follow along with the tutorial you’re going to at least need the One Lab app. Android has had it longer
Here’s One Lab on the Play Store
Ipad/iphone is currently in beta so It’s definitely a bit more buggy. And requires a few more steps to get. I recommend going to the app creators instagram here and following his links to get the beta version on your preferred ios device.
The first section is dearest to me and explains why I'm sharing my technique. Then I'm going to talk about the incredible app I use in the second section. Then, finally the tutorial section.
Part 1: Gatekeeping Sucks
Why I'm happy to have more artists making art like mine.
Anyone with a smart device can make images like these. It's not difficult.
What sets my images apart from anyone else's is my artistic eye. The aesthetic and style I have developed, learned to recognize and honed over years of practice and study. Along with my creative perseverance and educated understanding of composition and balance. Many people are better at those things than me but no one has the exact same eyes. No two artists are going to make the same art.
Some people feel threatened by similar artists and gatekeep their techniques to create scarcity and an exclusive aesthetic. They often confused this gatekeeping: the activity of controlling, and usually limiting, general access to something; with discernment: the quality of being able to comprehend what is obscure, hidden, or of quality or value. Artistic value is determined by our preferences.
Discernment is both a blessing a curse because the more precisely honed your eye/style, the more limited your preferences become, but without discernment you just have chaos. Chaos + Discernment = art.
Being too discerning of your own art means fewer people will appreciate and enjoy your art. Everyone's preferences are unique even though they may share similarities. Some refinement, however, is how you develop a signature style and grow a audience of people who admire and appreciate that style.
My discovery of these tools and effort to acquire and learn them (a bit) has unlocked the most accessible and enjoyable art medium I've ever used. I feel like I've finally uncovered this magical alchemical formula of Julia Star Art.
And I would like to share that formula. Because a rising tide lifts all boats.
Part 2: One Lab
The worlds most complex photo editing app
The app where the magic really gets going is called One Lab. It is a generative creativity app disguised as a photo editing app. It’s a really powerful tool that can take any image (or a preset in the app) through a series of alterations and effects that renders the image into complex and sometimes unrecognizable versions. The app has a boat-load of features and capabilities, but I’m not going into all of that. I’m just going to talk about it’s history and my experiences and then I’m going to walk you through how I use it.
One Lab is made by a man named François Morvillier who co-founded and operates an app development company named ilixa. He is based in the UK and loves solving algorithmic challenges in software and apps. His product One Lab is the final form of his image manipulation apps and is an amalgamation of several of his previous works.
Before One Lab, there were several Lab apps, first was Mosaic Lab (2014) followed by 8-bit Lab (2015). In 2016 Mirror Lab which was a huge leap from his earlier entries into the series. Mirror Lab was released and is arguably the origin point of One Lab. It generates mirror effects onto images ranging from basic division along the x or y axis to polarization, fractals and kaleidoscope effects.
Then in 2019 Glitch Lab was released which unlocked a different set of manipulation tools that added glitch effects. These two apps are where I started. In 2022 Francois announced on the Glitch Lab instagram acccount that the One Lab app was in beta and the OneLab_app instagram account was created. One Lab 1.0 was released on Nov 25, 2023.
I found Glitch Lab and Mirror Lab in July 2021. Here is my very first piece of generative art created with the apps.
I love the Lab apps a lot. They really tickle the creative parts of my brain and I enjoy the huge range of possibilities these apps provide for creative digital art works.
There’s probably more I could say about these apps, but until you try them for yourself it’s difficult to fully appreciate their complexity and potential. So let’s get you onto the One Lab app so you can play with them yourself!
Part 3: Tutorial Time!
My step by step process
If you read everything above this, You’re a rockstar, comment and brag about it below
I have a couple of screen-recorded videos showing off my process that I am going to put at the bottom, but I am also going to write out the process as thoroughly as I can so that the videos make more sense.
Also here are the tools I use and the minimum tools to use to complete this process:
My Tools
Ipad
Logitech Crayon
Procreate
One Lab
Minimum tools
Smart device (ios or android)
One Lab App
A finger or stylus
(optional) an app for creating color on a canvas to use in One Lab
We’re going to organize this tutorial outline style.
A. Procreate
1. Open Procreate
2. Choose some colors
3. Cover Canvas with colors
a. This can be done with concentric circles, stripes of color or random shapes made from brushes. It doesn’t matter as far as the next steps go.
4. Change Background Color
a. Notice how the colors on your canvas are affected by background color
5. Open the Adjustments Menu (magic wand) Most adjustments are made by either tapping on the screen or sliding across the screen which increases the % of the change.
a. The first adjustment I usually add is Gaussian Blur which softens the stripes or rings into a smooth gradient but you can skip this if your design is more complex.
b. Closing the Adjustments menu by tapping the magic wand again creates a soft save state for the adjustment and then you can undo each adjustment individually rather than all at once. This is an important nuance in procreate.
6. Other Adjustments I sometimes make
a. Bloom - this pops the yellows and highlights to create more contrast and light
b. Liquify - This one is my favorite. Here are the settings I typically use
i. Twirl
ii. Push
iii. Pinch
iv. Expand
v. Crystals
with liquify you gotta just play around with the settings to see what looks good to you.
c. Noise - This one is tricky but if you scale it up really big and use the Ridges setting it creates a very cool watery ripple effect over the top of your canvas.
REMEMBER to save by exiting the adjustments tab between each setting!!!!
The secret sauce- Adjustments menu - Chromatic Aberration
This is where the extra bit of wow factor usually happens.
a. First shrink your canvas until the grey circle covers half or more of the canvas. This creates a sort of halo of the effect that is a bit more subtle.
b. Adjust the slider to 100%. I know you can’t see it but you gotta trust the process here and click out of adjustments to see your work.You can always undo and redo this step if you want it a bit different.
Export your finished work as a Jpeg and save it to your device.
B. One Lab App
Open One Lab
Grant it access to ALL of your photos (IMPORTANT)
Load the image you just finished in procreate
(Optional) Go to Style → Color → Adjust to adjust the brightness, gamma, contrast, luminosity and add a vignette if you want to. then tap the Check mark or the Floppy disk (to save this specific verison) then the check mark to keep your adjustments in the next step. (x will remove the adjustments)
Go to Random - Art Roulette. You will see two options: Effect and Parameters. I start with effect and tap until something makes me go ooh and then I will cycle through some parameters of that effect to hone into a design that makes my soul sing.
When you are happy with the effect SAVE it with the floppy disk icon then:
a. tap x to start over from the last iteration
b. Tap check to keep the current edits and add them to the next stepRepeat steps 5 & 6.
That’s it. Just keep cycling that random option. If the app crashes just hard close it and restart the process. It’s utilizing a HUGE amount of memory and processing power to create these designs. Sometimes it needs a time out.
Here’s a video showing me doing this in 6m 45s.
Now, this is MY process and it works for my style and aesthetic but you are free to play with it exactly how I do in this video or I strongly reccommend letting yourself explore these apps and their adjustment options and create what is in your own style and aesthetic. The options are literally infinite. Have fun. Make Art. See y’all in the next one!
Love, Jules
note about Android only users
The only thing under the paywall is a second video of me attempting to do this process on android exclusively using the pics kit app and one lab. It’s rough but it does work. Any photo can be used as well. And you can use “generate” inside of the OneLab app to generate a design from their preset starts rather than importing an image.
Hello, Here’s a little video of me (poorly) attempting to do this on Android